It all started with a deal we could not refuse: Build a cabin and the land is yours. The property had been in Uncle Dave’s hands for over 50 years with the vision to build a log cabin, but it was never realized. It was easy for us to find THE spot for the cabin – as high on the property as it could go for the best Southern view of the valley below. We placed a log on the spot and called it the pondering log. The rest took 9 years of yes, no, maybe, on, off, small, big, small, how? Lots of pondering on the log. It finally came to a conclusion in December 2019 – mostly. This was a true lesson on the challenges of having a project so far away, located on the side of a mountain, and of a construction type that I do not have any experience with (other than playing with Lincoln Logs as a kid). First, a few details about the property.
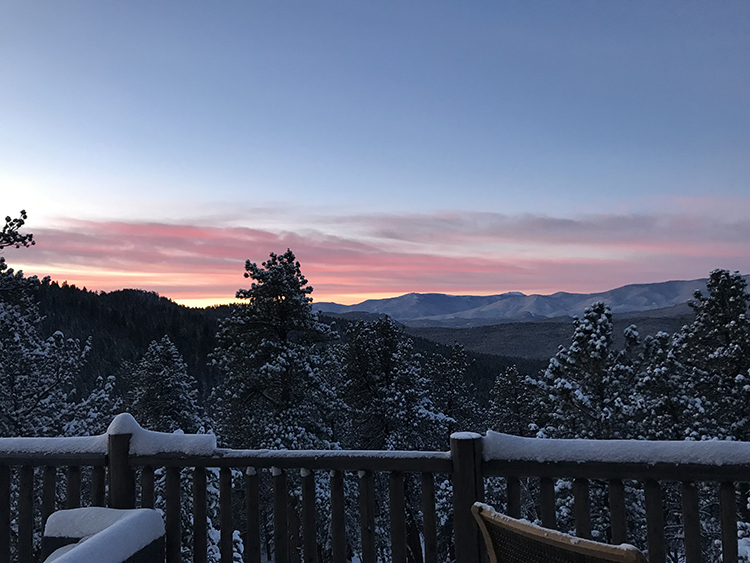
The 5-acre plat is about 45 miles West/Southwest of Denver in the Rocky Mountains, bordered on 2 sides by a state park. The elevation at the house is 9,150 feet and the 850 foot long drive at the end of the dirt road starts at 9,000 feet. You can do the math – that is pretty steep for a drive. The slope of the grade at the house is 1 foot vertical to 3 feet horizontal, not the 1 inch vertical that we are accustomed to in Central Texas. It is mostly forested with Lodgepole Pine, Ponderosa Pine, some Douglas-fir, and a few Aspen trees.
We had the typical site issues that we go thru with most rural site master plans, such as getting utilities to the site. We had to add 4 power poles on the property to get the electricity up to the house, find a location for the septic field, find a location for the water well, and not so common, had to locate the road so that we could get to the house without the need of a cable car or funicular.
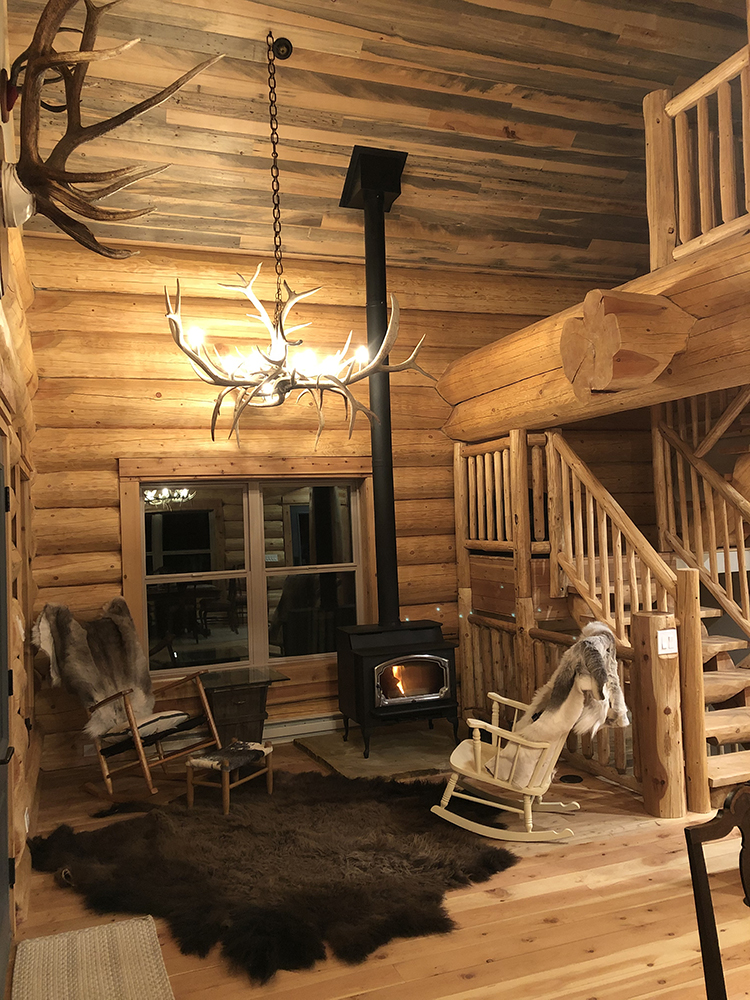
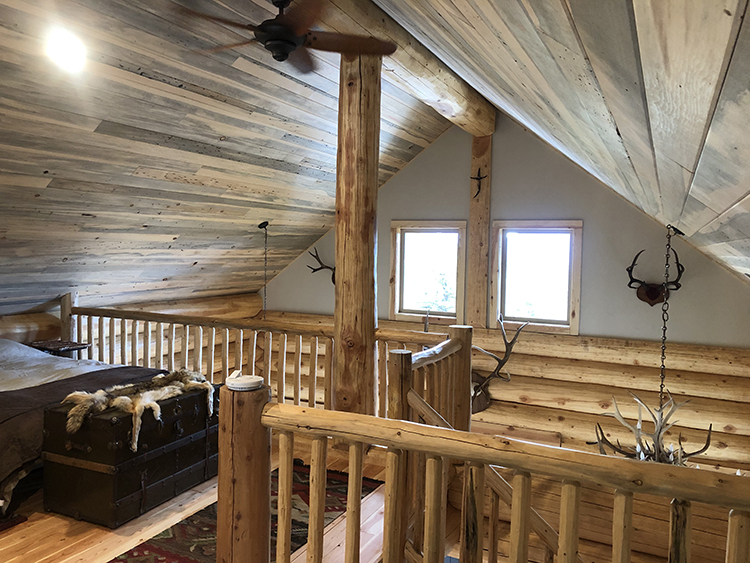
Trying to manage a project by phone and e-mail works ok, but boots on the ground are best. Uncle Dave was there for us, but he could not make the decisions for us. Besides, he just wanted a cabin. Questions such as “Is this where you want the house?” were very difficult to confirm over the phone by looking at pictures. As a result, we made some compromises, sometimes not by choice. For example, instead of revising the slope of the grade on one side of the house, the contractor made the decision, without our input, to increase the height of the concrete basement wall. This caused one of the windows to be smaller and not align with the window next to it. By the time we were on site, it was too late. Then there are the questions like, “Here is a picture of 2 stains. Pick the color you like.” A picture is not always worth a thousand words. We also had to be there to make selections from the contractor’s vendors. We made plenty of rush trips where the drive took longer than the amount of time spent on site. There were also trips where we needed to deliver products that we bought in Texas. Yes, there were some straight-thru night drives.
Dealing with building a house on the side of a mountain is a challenge. It is quite different solving problems with feet of elevation change instead of inches, resulting in retaining walls, terraces, steps, stairs and ramps. However, a good thing about the site is that it is granite. We do not need retaining walls on the high side of the house because the below-grade material is solid rock. We simply needed to cut enough of the granite out so that they could build the house and have room to walk around.
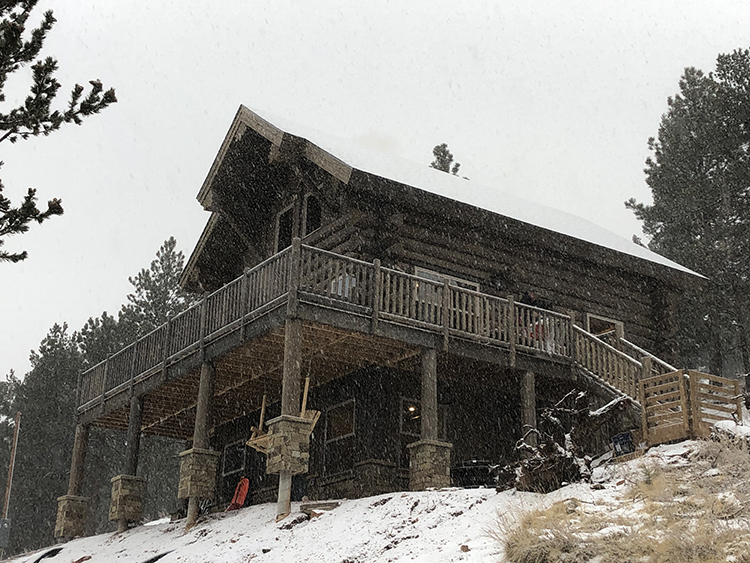
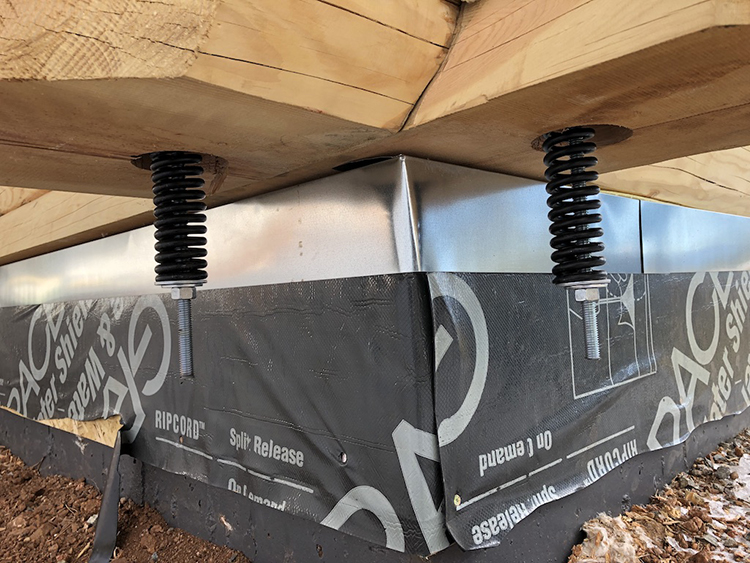
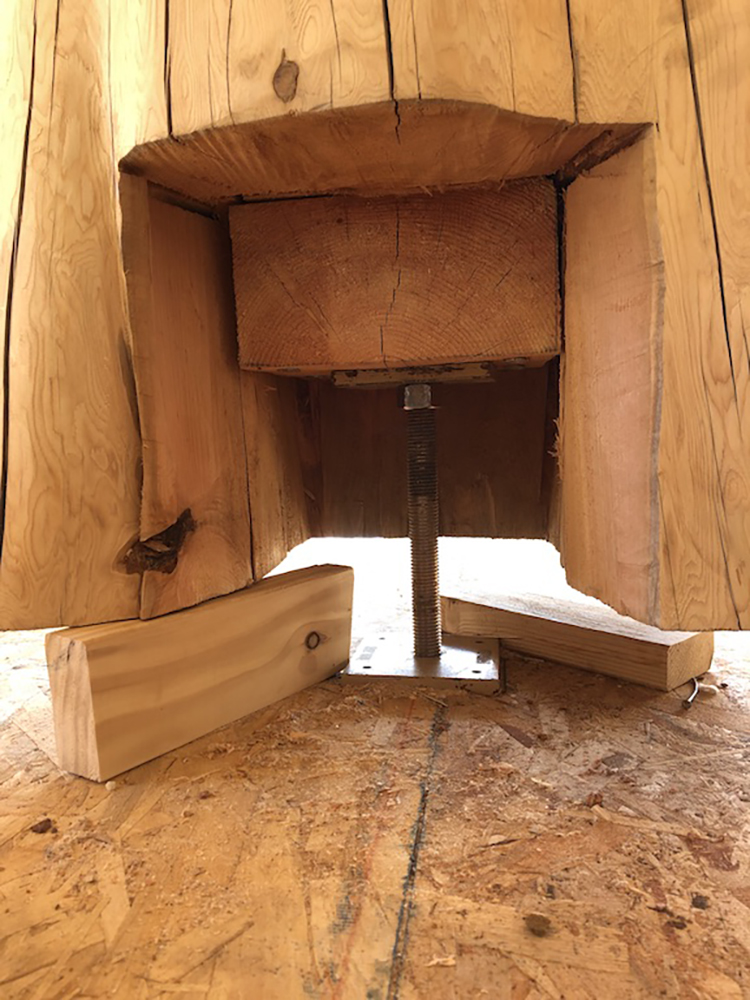
One of the interesting parts of the process was learning about true log construction. Log construction must account for wood shrinkage over time, resulting in some different methodologies. The walk-out or basement level is conventional wood construction and concrete retaining walls. The log construction begins at the main level and is constructed from 12”-14” diameter Douglas Fir logs. Each log sits on the lower log with an insulated Scandinavian full scribe joint. The outside corners are Canadian Lock Notch (Lincoln log style). The main level log walls are 12 feet high. There is 1 main interior log column, 1 log support beam, 3 log loft support joists, and 3 log roof beams. Architects are trained to think about expansion and contraction of materials. This, however, was something very different. As the logs continue to dry, they settle about ½” for every vertical foot (wood shrinks perpendicular to the grain). That means that with the 12’ high walls, we will lose 6” of vertical height. The column, however, does not shrink in the vertical direction. As a result, the column is elevated above the floor on a settling jack. This is basically a thick threaded steel rod with plates and nuts. As the exterior walls shrink, the column has to be lowered to match the shrinking. There are also 2 vertical steel rods at each of the 4 corners. This rod is continuous from the top of the wall to the bottom. At the bottom, there is a spring and nuts. As the logs shrink, the spring keeps tension on the corner and helps keep it all together. When the logs shrink more than the size of the spring, the nuts are tightened to compress the spring and the logs together again.
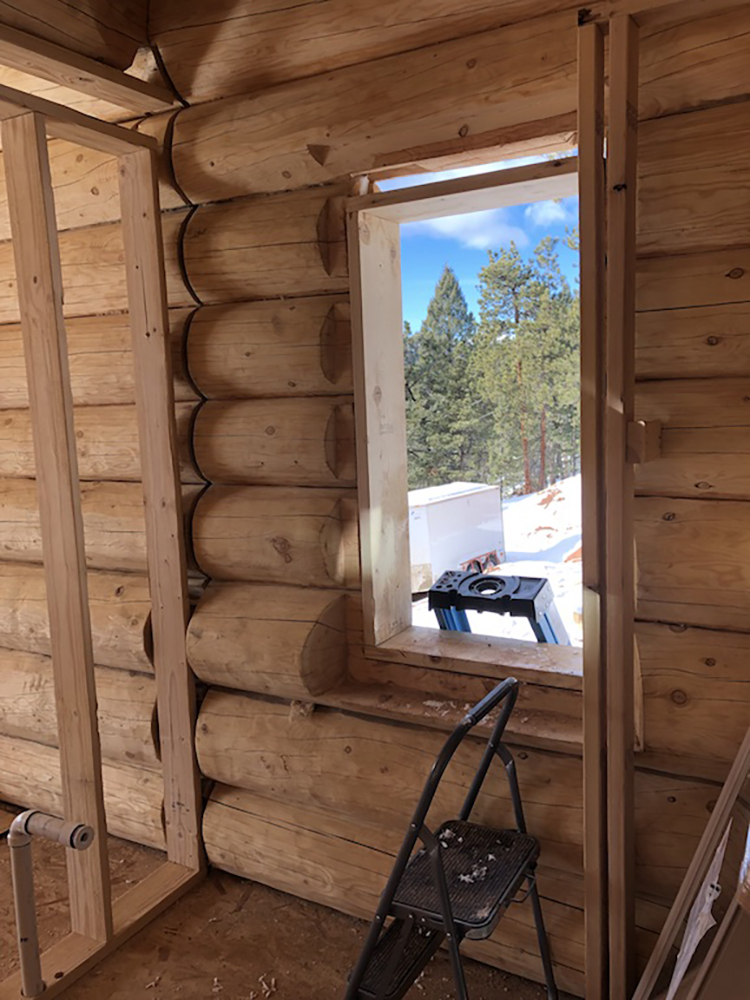
One more note about log construction: The interior walls are conventional wood studs and gypsum board. The studs cannot be attached to the exterior walls because the exterior logs move, and the studs do not move the same amount (vertical grain vs horizontal grain, same as the column). That also means that gypsum board cannot be attached to the exterior walls. If they cut the gypsum board to match the logs, the logs would crush it. The solution is to route out the logs to receive the studs and gypsum board. That allows the logs to move past the interior walls. As you can see, this is not like conventional wood stick construction.
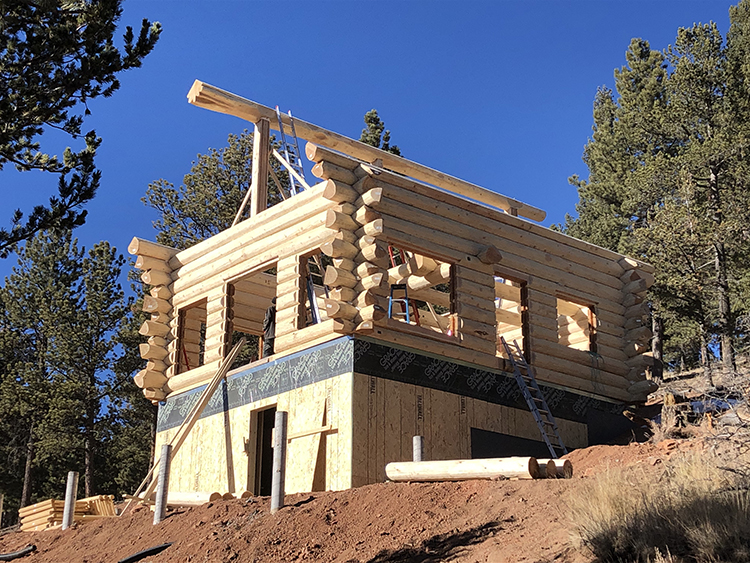
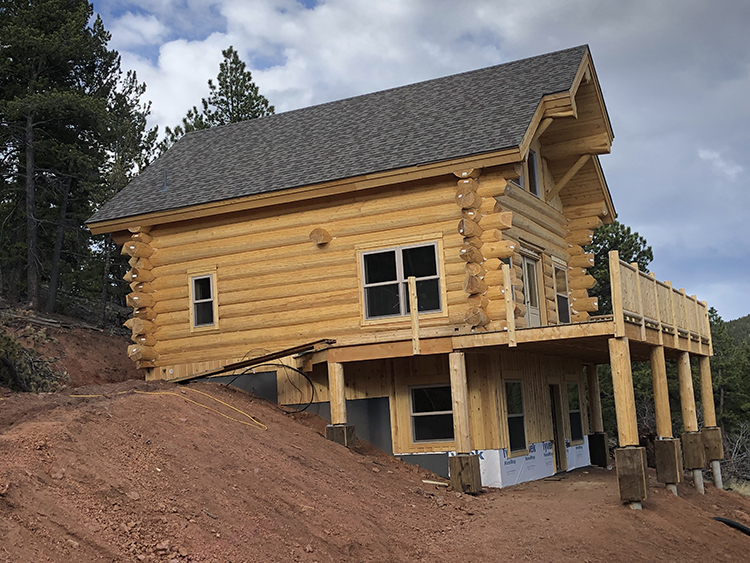
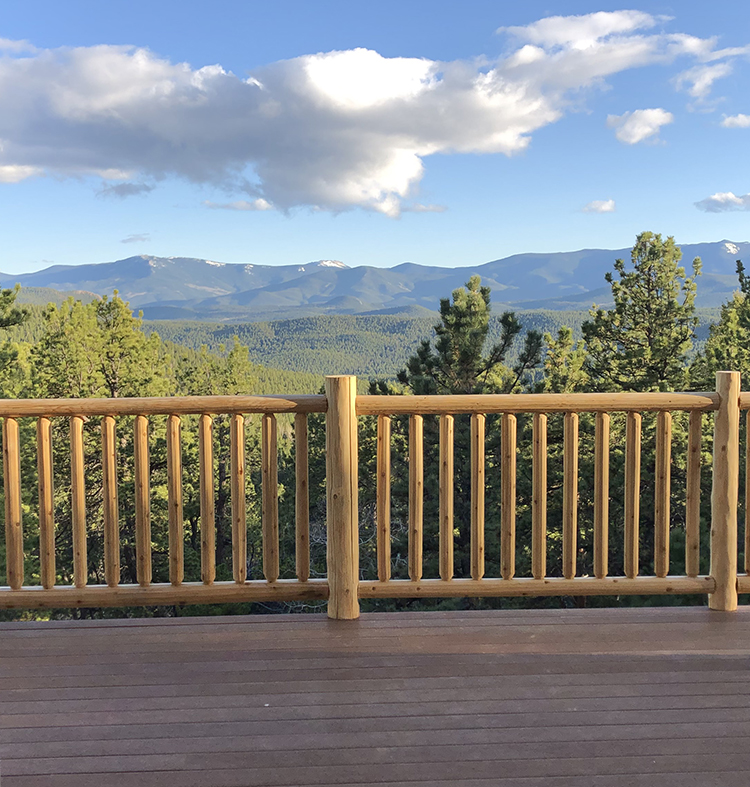
In the end, I can say that our goals have been met and exceeded. It is a great place to unwind, the view is spectacular, and Uncle Dave’s dream of a cabin on the property has come true. I look forward to the many long drives to Colorado resulting in lots of pondering on that deck that faces south, overlooking the valley below.

Written by Mike Record, AIA


